Last updated November 22, 2026
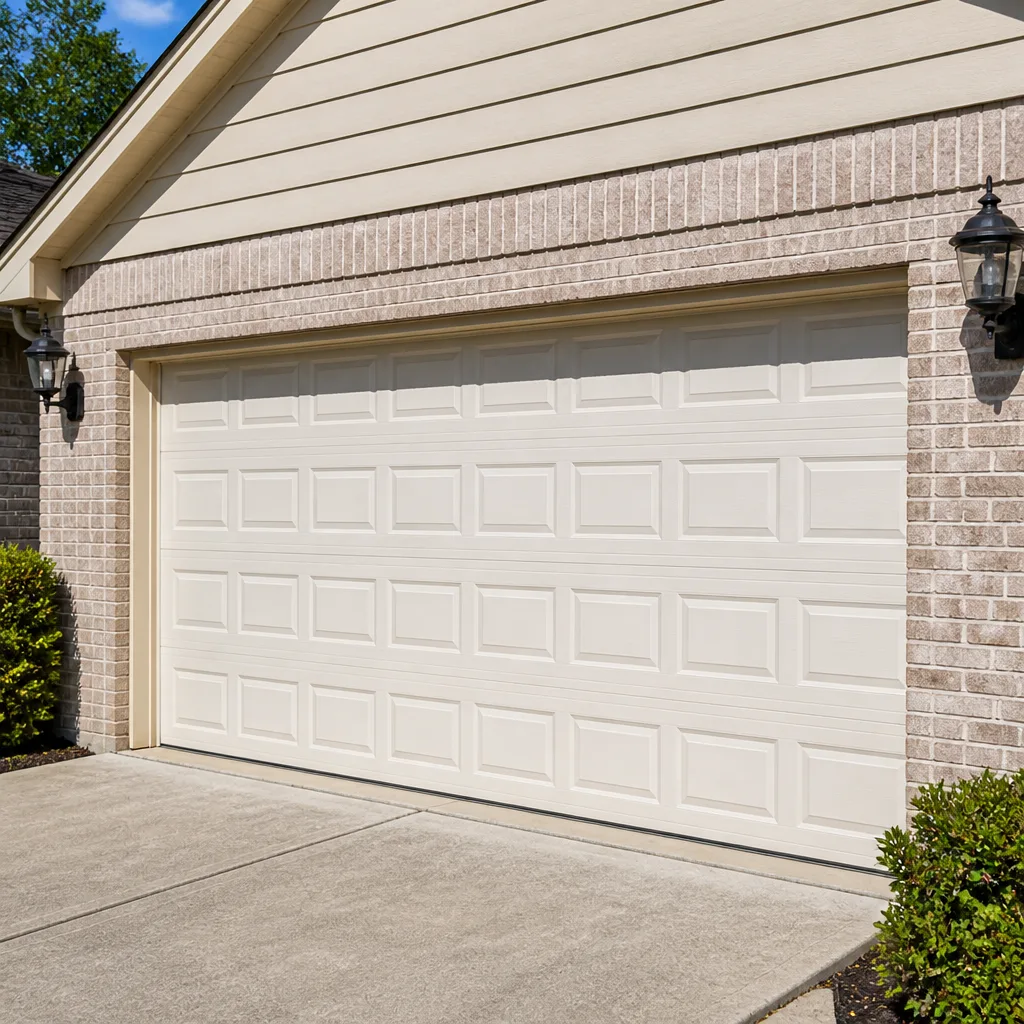 Raised-panel steel
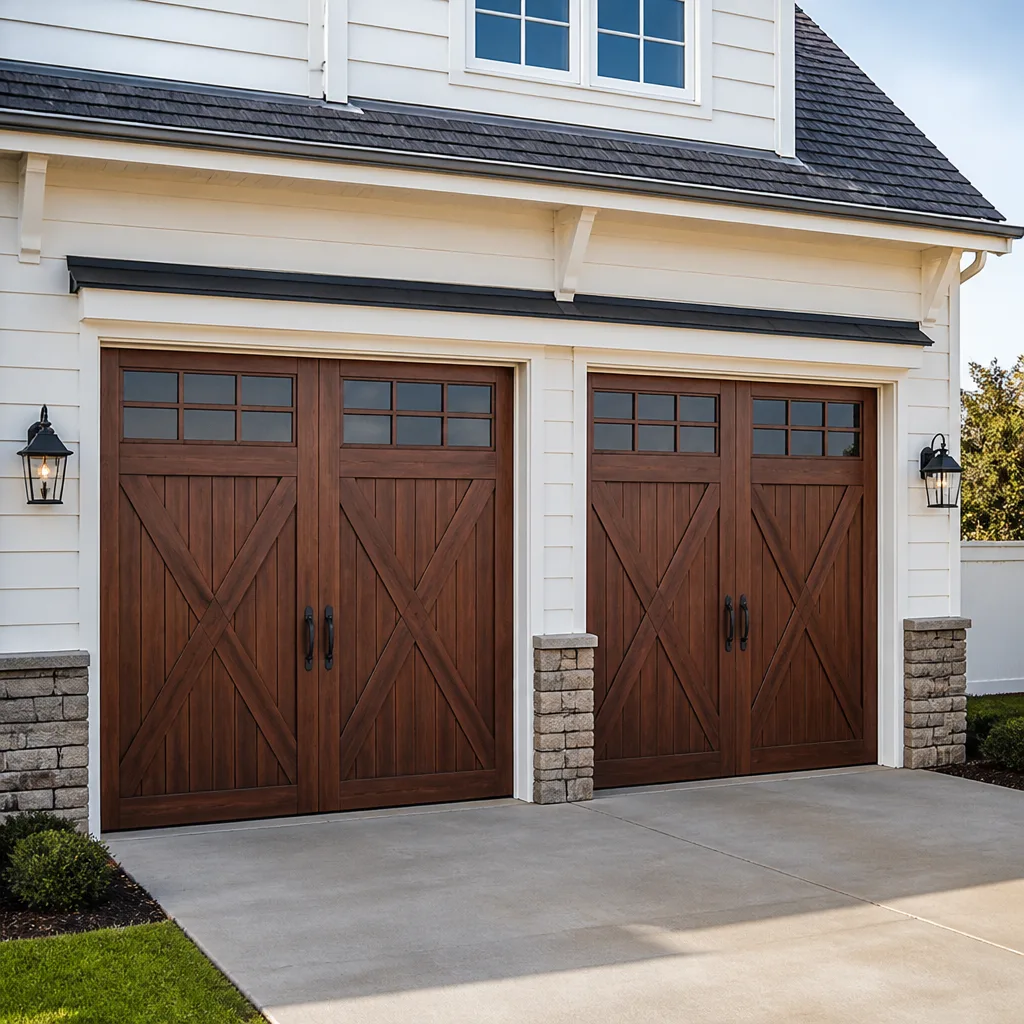 Carriage house
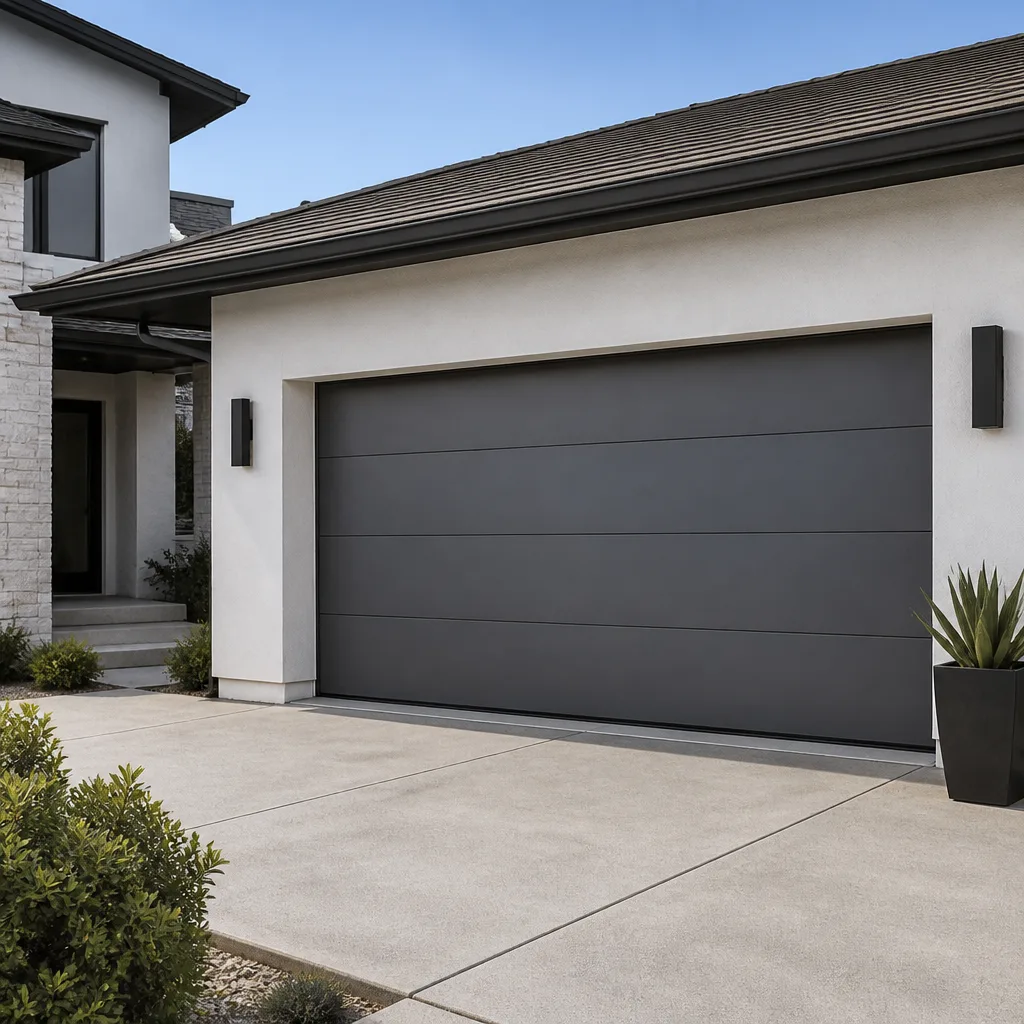 Modern flush
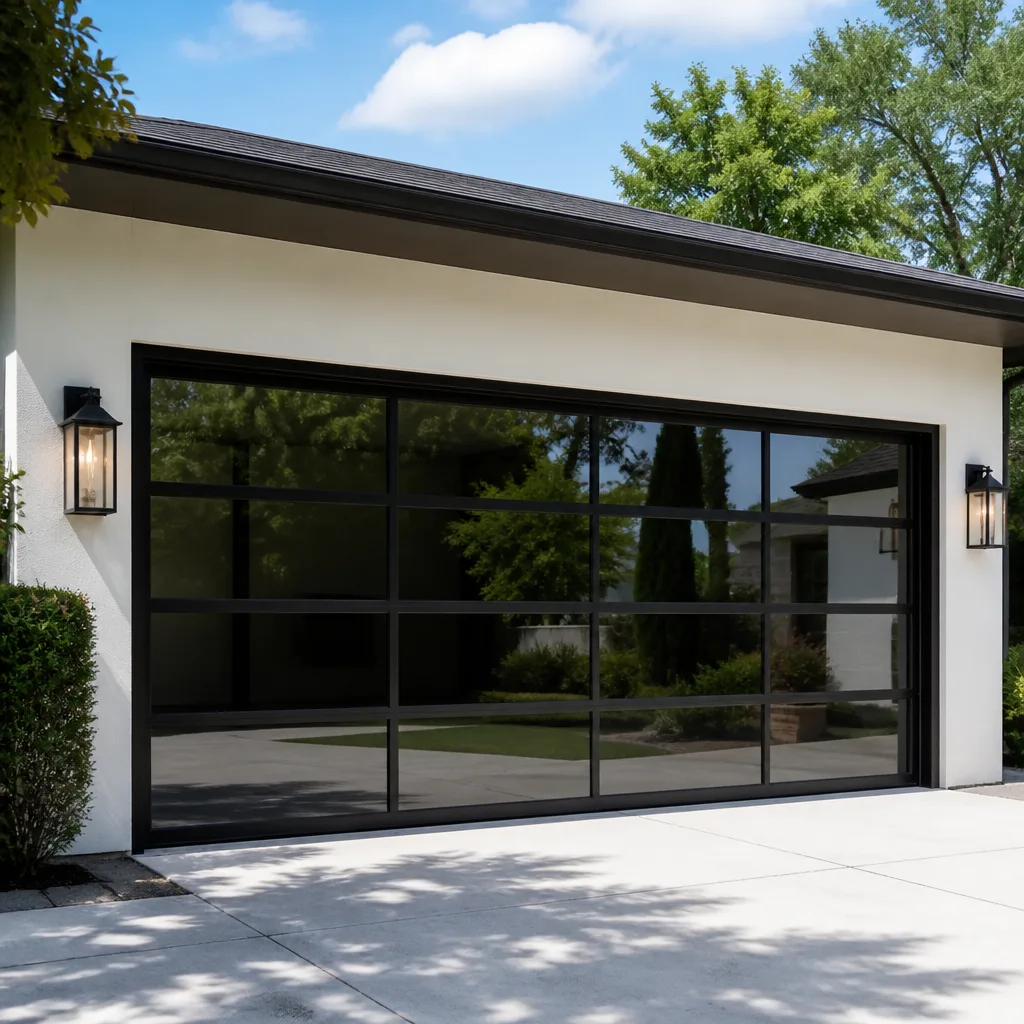 Full-view glass
 LiftMaster openers
 Chamberlain openers
Full 25-point door and opener safety check with every visit - springs, cables, rollers, tracks, and your LiftMaster or Chamberlain opener included
You get a price before we start. It does not change when the pro arrives.
Get your free estimateDIY vs Professional Garage Door: The New Britain Homeowner’s Decision Guide
Most articles about fixing a garage door yourself open with a warning and close with a sales pitch. We think the honest answer is more useful than that. The real dividing line isn’t whether you’re handy enough. It’s the physical energy stored in the parts, the warranty language buried in the manual, and what a mistake actually costs you in New Britain. A torsion spring under load carries more force than most homeowners realize, and one class of repair in this trade can genuinely hurt you while another is a Saturday afternoon project. This guide gives you a task-by-task breakdown, the real tool math, and the questions worth asking before you pick up a wrench.
Quick Answer
Safe DIY tasks on a garage door are limited to weatherstripping, lubrication, safety-sensor alignment, remote and keypad programming, and visual inspection. Anything involving springs, cables, the bottom bracket, or the lift mechanism is a professional job because those parts store dangerous energy and mistakes can cause serious injury; opener installation is also best left to a pro because a faulty install can void your manufacturer warranty. If your door is making grinding or popping sounds, hanging crooked, or won’t stay up, call New Britain Garage Door Repair Co at (833) 468-5774 for a free estimate before you touch it.
Styles & brands we work with
- Raised-panel steel
- Carriage house
- Modern flush
- Full-view glass
- LiftMaster openers
- Chamberlain openers
Table of Contents
- Why Money Is the Wrong Lens for This Decision
- What’s Genuinely Safe to DIY on a Garage Door
- The Jobs That Aren’t Worth the Risk
- The Tool Math: Does Buying It Once Make Sense?
- How DIY Opener Installation Affects Your Warranty
- The Liability Reality for New Britain Homeowners
- A Cost Comparison That Counts Everything
- How to Read the Warning Signs Before Calling Anyone
Why Money Is the Wrong Lens for This Decision
Nearly every “should I fix it myself” article frames the choice as parts cost versus labor cost. That math is incomplete because it ignores two variables homeowners can’t easily price: injury risk and warranty coverage. Once you add those in, the same repair can look like a good deal in one scenario and a terrible idea in another, even at the exact same parts price.
Take two repairs that both sound like “spring stuff.” One is replacing the torsion spring above your door. The other is swapping out the extension spring on a lighter single-car setup. They carry very different risk profiles and different tool requirements, which is why we treat spring work as a specialty rather than a footnote. That’s also why the DIY verdict changes task by task instead of for the whole garage door.
We’ve seen the pattern often enough to name it plainly: homeowners who go into a garage door repair with a clear-eyed sense of what they’re taking on get better outcomes. That’s true whether they tackle it themselves or hand it off. New Britain has a lot of older homes with a mix of original and replacement doors, and the age of the system matters too. A 1990s door with an extension-spring setup is a different animal from a newer Clopay or Amarr install with a single torsion spring and a modern opener.
So the rest of this guide is organized by task type, not by a blanket verdict. Some of what follows will tell you to grab your own tools. Some will tell you to put them down. That split is the whole point.
What’s Genuinely Safe to DIY on a Garage Door
We’re not going to pretend every garage door job is dangerous. Several routine tasks are well within reach for a homeowner with basic tools, and doing them yourself saves money without adding any real risk. Here’s the short list, in rough order of how easy and safe each one is:
- Replacing the bottom weather seal. This is the rubber strip along the base of the door. It’s a low-energy part, usually held in by a track or a few fasteners, and swapping it is a straightforward job with a screwdriver and a utility knife. It also makes a real difference to drafts and pests in New Britain’s cold winters.
- Lubricating hinges, rollers, and tracks. A garage door should be lubricated a couple of times a year. Use a proper garage door lubricant on the hinges and rollers and a light application in the track, not grease or WD-40 on the moving parts. This one task does more to extend the life of the door than almost anything else.
- Aligning the safety sensors. The two sensors near the bottom of the tracks need to see each other to let the door close. If they’re knocked out of alignment, the door reverses. A visual check and a small nudge usually fixes it. If the sensor bracket is bent or the wiring is damaged, that’s a different story.
- Programming remotes and keypads. Following the manual for your opener model is genuinely simple. If you own a LiftMaster, Chamberlain, or Genie system, the instructions are usually printed on the back of the motor housing or available online.
- Visual inspection. Walking the door up and down and looking for loose hinges, frayed cables, or a sag in the panels is a good monthly habit. Only the looking part is DIY here.
There’s a sixth task that’s borderline: adjusting the opener’s force limit or travel settings. We put it on the DIY side only if you follow the opener’s manual exactly and test the safety reverse afterward. Get it wrong and the door can close with too much force, which is a safety issue. If you don’t have the manual, skip it and call us.
The Jobs That Aren’t Worth the Risk
Here’s the part most tutorials skip. A wound torsion spring stores enough energy to cause serious injury if the winding bars slip, and that’s not a caution born of lawyers; it’s the mechanical reality of a spring designed to lift hundreds of pounds. That doesn’t mean you’re careless. It means the margin for error is very small. These tasks belong with a trained technician in every case:
- Torsion spring replacement. The spring above the center of the door. You need to unwind the old one safely and wind the new one to the correct tension. Get it wrong and the door can slam, or the spring can release unexpectedly.
- Extension spring replacement. The springs along the sides on older setups. Less energy than a torsion spring, but still enough to injure you if the spring snaps while you’re near it.
- Cable replacement. Cables are under constant tension and can cut through a leather glove if they snap. They’re also the most common cause of serious injury for DIY attempts.
- Bottom bracket work. The bottom bracket holds the cable. If it’s under tension and you loosen it, it can release with enormous force. There’s a reason pros treat this part with real respect.
- Panel replacement on a bent door. Panels need to be aligned and the door rebalanced after. A poorly fitted panel can jam the door mid-travel.
- New opener installation. We’ll cover the warranty angle below, but the safety angle matters too: an opener that’s mounted incorrectly or programmed wrong can close on a person or a pet.
We want to be direct about the torsion spring specifically. If your door is hanging crooked, won’t stay open, or has a visible gap in the spring, that’s the signal that the spring has failed. Call for garage door spring repair instead of going to the hardware store. A spring replacement is a same-day job for a professional and a multi-hour hazard for anyone else.
The Tool Math: Does Buying It Once Make Sense?
A common argument for DIY is “the tools pay for themselves on the first job.” That argument works for weatherstripping. It doesn’t work for spring work. Here’s the honest tool accounting for the professional-level jobs, using the tools a working technician would actually need:
- Winding bars (a pair). Required for torsion spring work. You can’t substitute a screwdriver or a piece of rebar safely; winding bars are sized to fit the spring cone exactly. Cheap sets exist, but “cheap” is not a word you want attached to a tool with stored energy in it.
- Torsion spring set (matched pair, usually). Springs are replaced as a pair. A single spring range would be misleading because the pair doubles the parts cost. Springs are ordered by wire gauge, inside diameter, and length, so you need to measure the old ones accurately.
- Cable drums and cable cutters. If a cable is being replaced, you need the correct size of cable, the drum that matches the existing system, and cutters that can shear braided steel cleanly.
- Proper spring winding instructions for your specific lift system. This is the part tutorials don’t cover. Every setup has a specific number of turns based on door height and spring type. There’s no universal rule.
- A good drill and socket set, plus a torque spec. For opener installation and panel work, the mounting hardware needs to be tightened to spec. The manual is the only place that spec lives.
Add the purchase price of the tools to the parts cost, and add your own time. Then ask a blunt question: will you use a set of winding bars again after this job? For most homeowners, the answer is no. The tools sit in the garage until you sell the house. When the door needs another spring in 10 or 12 years, you’ll have to relearn the procedure or call someone anyway. That’s the math that usually tips the decision toward a professional, not the labor rate.
There’s also a practical point about parts. Springs aren’t one-size. Every door needs the spring matched to the door weight and height, and a common DIY mistake is buying the closest match at a big-box store. A wrong-gauge spring will either lift too hard or fail early, and neither outcome is something you want to find out about over time.
How DIY Opener Installation Affects Your Warranty
Here’s the clause homeowners discover only after something goes wrong. Most manufacturers’ opener warranties require installation by a qualified technician, or at minimum installation according to the manual with a specific safety test performed. If you self-install and the motor fails in month eight, the claim can be denied because there’s no record that the safety reverse was tested or that mounting was done to spec. This isn’t true of every brand or every model, and the exact language varies, but the pattern is common enough that it’s worth reading your manual’s warranty page before you open the box.
The same logic applies to the door itself. Manufacturers of doors like Clopay, Amarr, and Wayne Dalton publish installation requirements in their literature. A door installed off-plumb or without the correct anchoring can lose its finish or structural warranty. For a New Britain homeowner with a newer install, that’s a costly way to save a labor hour.
There’s a second warranty layer people miss: the safety reverse feature. Every opener sold in the U.S. needs the safety reverse to function, and the installation manual spells out how to test it. Skip the test and you have a door that can close on a person or a pet. That’s not a warranty question anymore; it’s a safety one.
Our opener work covers the mainstream smart and traditional systems, including LiftMaster, Chamberlain, Genie, and Craftsman. If you’re capping off a legacy opener and moving to a newer smart-home setup, we can handle the transition and confirm the safety reverse and mounting are done correctly. That keeps the warranty intact and takes the guesswork out of which unit fits your existing door. For help tracing an opener fault before you replace anything, garage door opener repair is usually the cheaper first step, and we’ve seen plenty of cases where a full replacement was never needed.
The Liability Reality for New Britain Homeowners
If a DIY spring repair injures a family member, your health insurance handles the medical side, but nothing about the injury is a claim against anyone else because you did the work. That’s a hard truth. If the same repair damages a vehicle or the door, the damage is on you unless your homeowner policy specifically covers it, which you should verify with your insurer rather than assume. If a faulty DIY install later causes a door to fall and injure a guest, that’s a personal liability exposure a professional contractor’s insurance would normally address.
This is the part of the decision that doesn’t show up in a parts-versus-labor comparison, and it deserves more attention than it usually gets. The homeowner who takes on a spring job is effectively the general contractor and the crew at the same time, with no coverage behind the work.
New Britain’s housing stock includes a lot of homes built in the mid-20th century, and many have garages that have been modified by previous owners. When a technician arrives, part of the job is confirming the system is up to current safety standards, because the person who made the last repair may have left something the next homeowner doesn’t know about. That’s not a scenario we can recreate from a tutorial. It’s exactly the kind of discovery a trained eye makes in the first ten minutes.
A Cost Comparison That Counts Everything
Here’s the comparison most articles leave out: the cost of a botched DIY attempt that requires a professional call anyway. The table below shows the honest budget picture, using typical ranges rather than a single number so you can see how the math shifts. These are estimates; the written quote we give you before any work starts is the final price.
- Torsion spring replacement (one spring), professional: parts plus skilled labor, and typically a same-day repair. If the springs are a matched pair, expect about twice the single-spring range.
- Torsion spring replacement, DIY: the cost of a matched pair of springs, a set of winding bars, and the real risk of a follow-up professional visit if the tension is wrong.
- Weatherstripping replacement, professional: a modest flat job. DIY saves most of the labor for a few minutes of work and a cheap part.
- Opener installation, professional: the unit plus install labor, with safety reverse and mounting verified, and the manufacturer warranty protected.
- Opener installation, DIY: the same unit, self-installed, with warranty risk on the motor and no professional verification that the safety reverse functions.
- A failed DIY repair that leads to a service call: the DIY parts and tools plus the professional visit, which is the most expensive line in this list. That’s the scenario that makes the “save money” math collapse.
Add in your own time. A torsion spring job is not a two-hour Saturday project for a first-timer, even if it goes well. And it rarely goes well the first time. The parts cost of a professional repair and the parts-plus-tools cost of a DIY attempt are closer than the retail price difference suggests, and once you fold in risk of a redo, the calculation usually favors the professional for the dangerous tasks and favors DIY for the light ones.
Our pricing follows that logic. Spring work is priced as a specialty because it is one. Weatherstripping and sensor work are priced as what they are, routine maintenance. You’ll get a written estimate before we start, and that number is what you’ll see on the invoice. If we open things up and find a cable that’s also tired, we’ll tell you before doing the work, not after.
How to Read the Warning Signs Before Calling Anyone
Before you decide whether to call, run the door through a quick check. This isn’t a repair checklist; it’s a triage list to figure out which category your issue falls into.
- Listen for popping or snapping. That’s usually a spring failure or a cable issue. Professional territory; don’t operate the door more than once to confirm the sound.
- Watch the door travel. A door that goes up unevenly, jerks, or looks crooked is signaling a balance problem. Stop using it and get it looked at.
- Test the safety reverse with an object. Place a small block in the door’s path and close it. The door should reverse. If it doesn’t, the safety feature is failing; that’s a same-day call.
- Check the weather seal. If you can see daylight under the door, that’s a weatherstripping job and a genuine DIY candidate.
- Look at the springs. If there’s a visible gap in the coil or the spring looks stretched, it’s failed. Don’t try to cycle the door.
If your triage lands on a spring or cable, call for garage door repair rather than buying parts. A professional visit begins with a diagnosis, not a parts order, and that’s a big part of what keeps you out of the “bought the wrong spring” situation. Our technicians have up to 14 years of experience and work on whatever system is already on your door, including Clopay, Amarr, Wayne Dalton, and Craftsman installs, so there’s no brand bias or guessing about which part fits.
Common Mistakes to Avoid
- Using WD-40 or grease on the tracks. Both attract dirt and gum up the rollers. Use a proper garage door lubricant. This is the most common mistake we see on service calls, and it’s an easy fix.
- Buying a torsion spring off the shelf without measuring. Springs are matched to the door’s weight and height. A spring that’s a little off will fail early or leave the door unbalanced. Measure the wire gauge, inside diameter, and length, or let a pro do it.
- Loosening the bottom bracket to “see how it works.” It’s under cable tension. Leave it alone. This is the specific part that causes the worst injuries on DIY attempts.
- Disconnecting the opener to lift the door by hand during a power outage and forgetting to reconnect. A common small mistake, but it leaves the safety reverse disabled without anyone noticing.
- Assuming a bent track is a track problem. Most of the time the door is out of balance. Replacing the track hides the real issue and the door keeps misbehaving.
- Ignoring a slow-closing door in New Britain’s winters. Cold weather thickens lubricant and stiffens springs. A door that barely closes in January is often signaling a tension problem that will get worse.
- Self-installing an opener without a safety reverse test. The test is a two-minute job and skipping it is the one thing a manufacturer’s warranty and common sense both require you to do.
See the difference
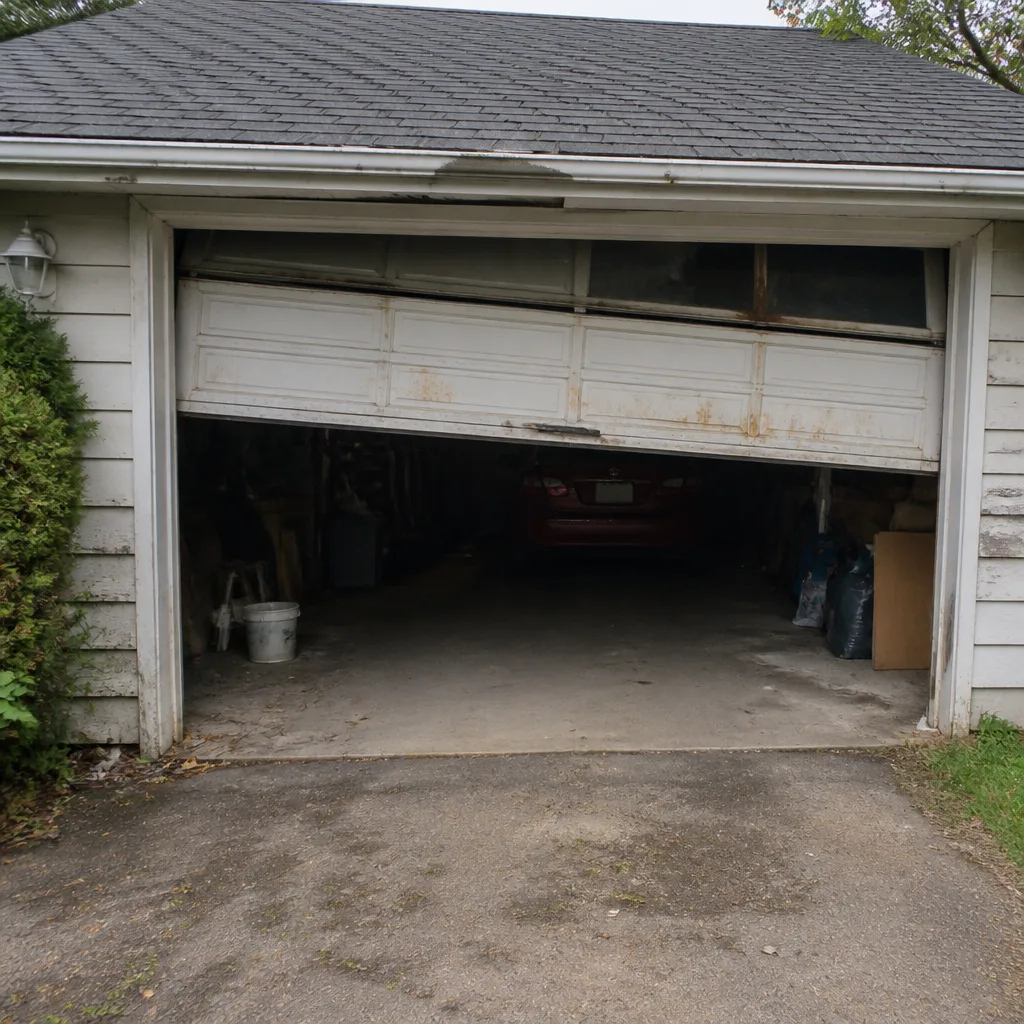 Before
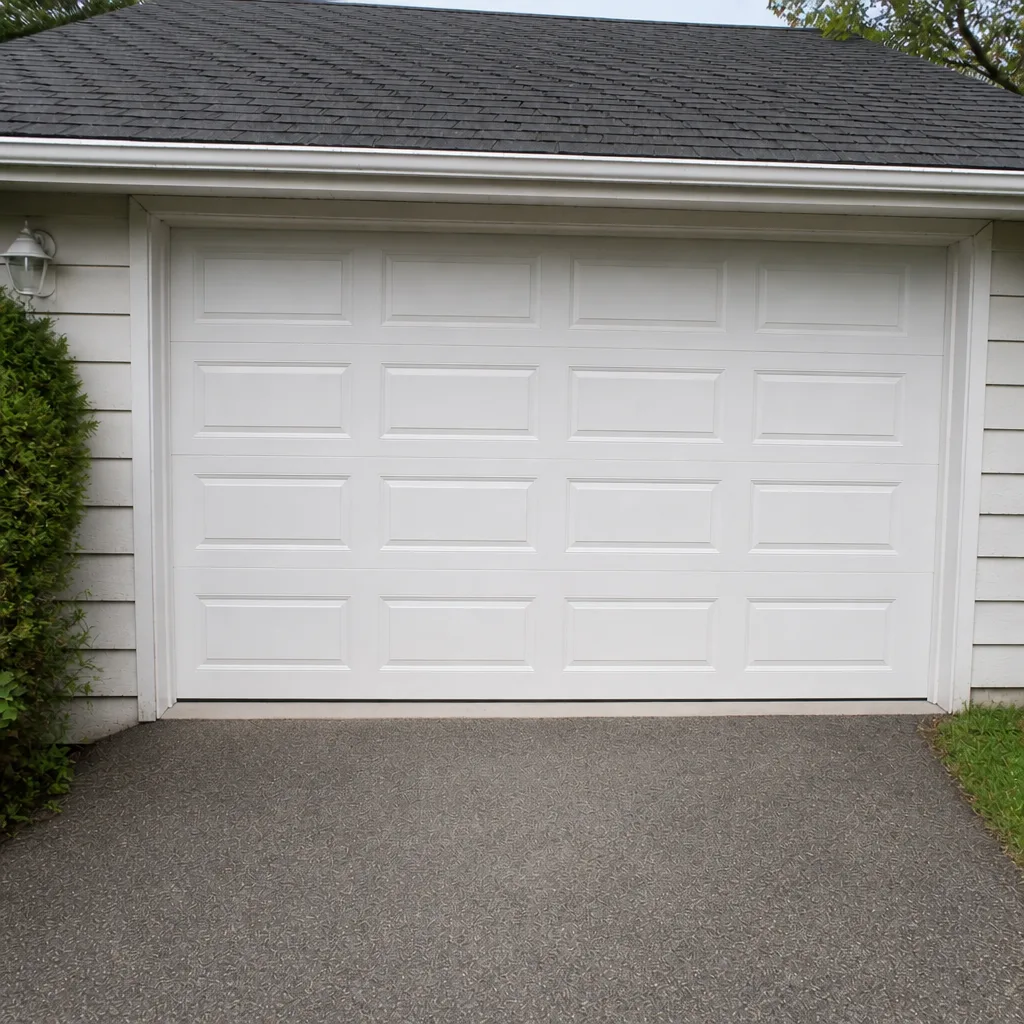 After
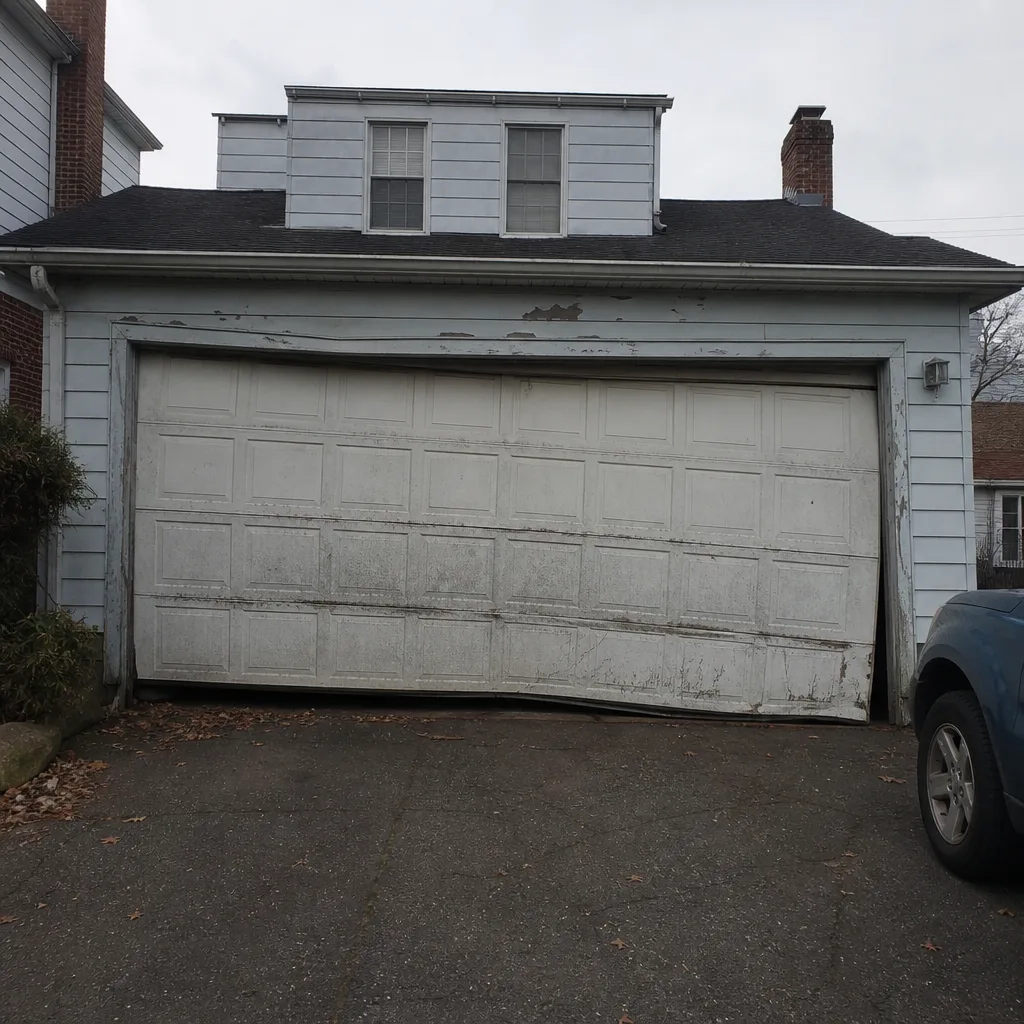 Before
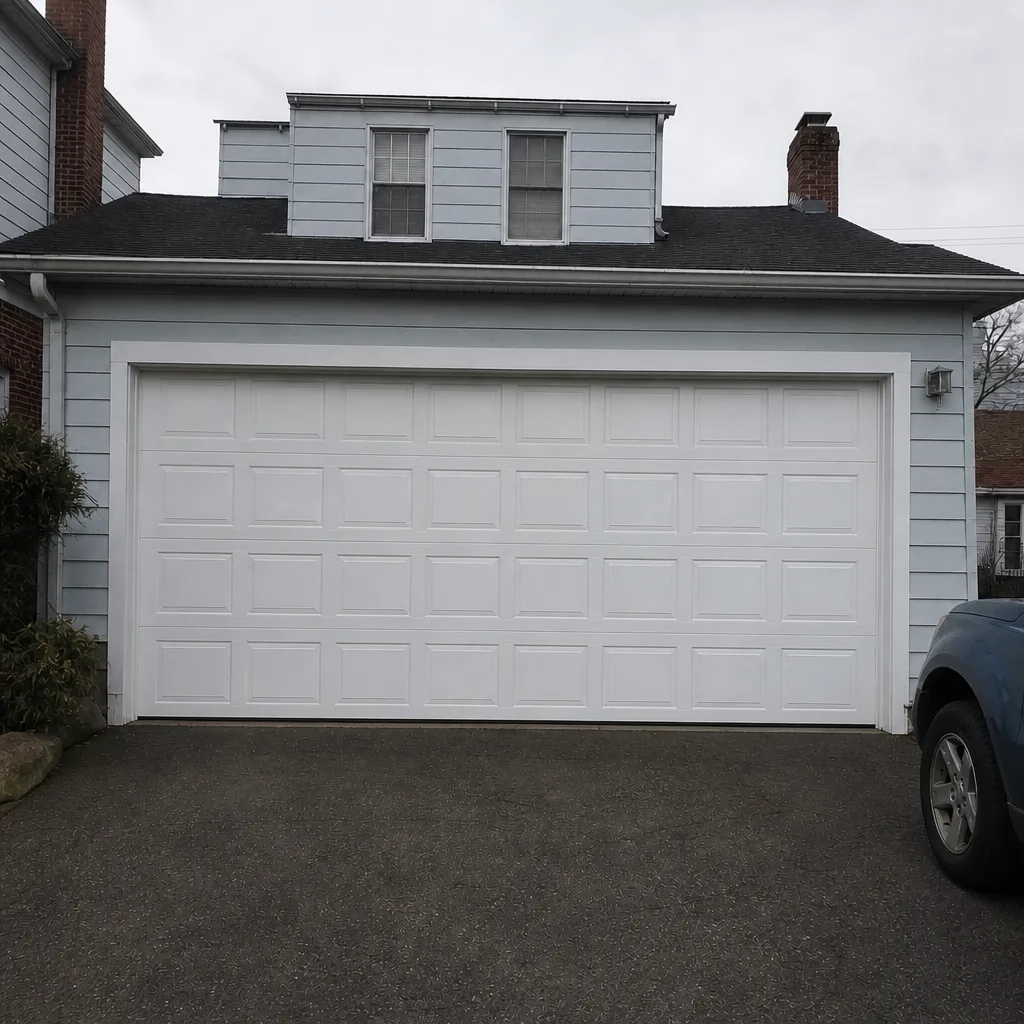 After
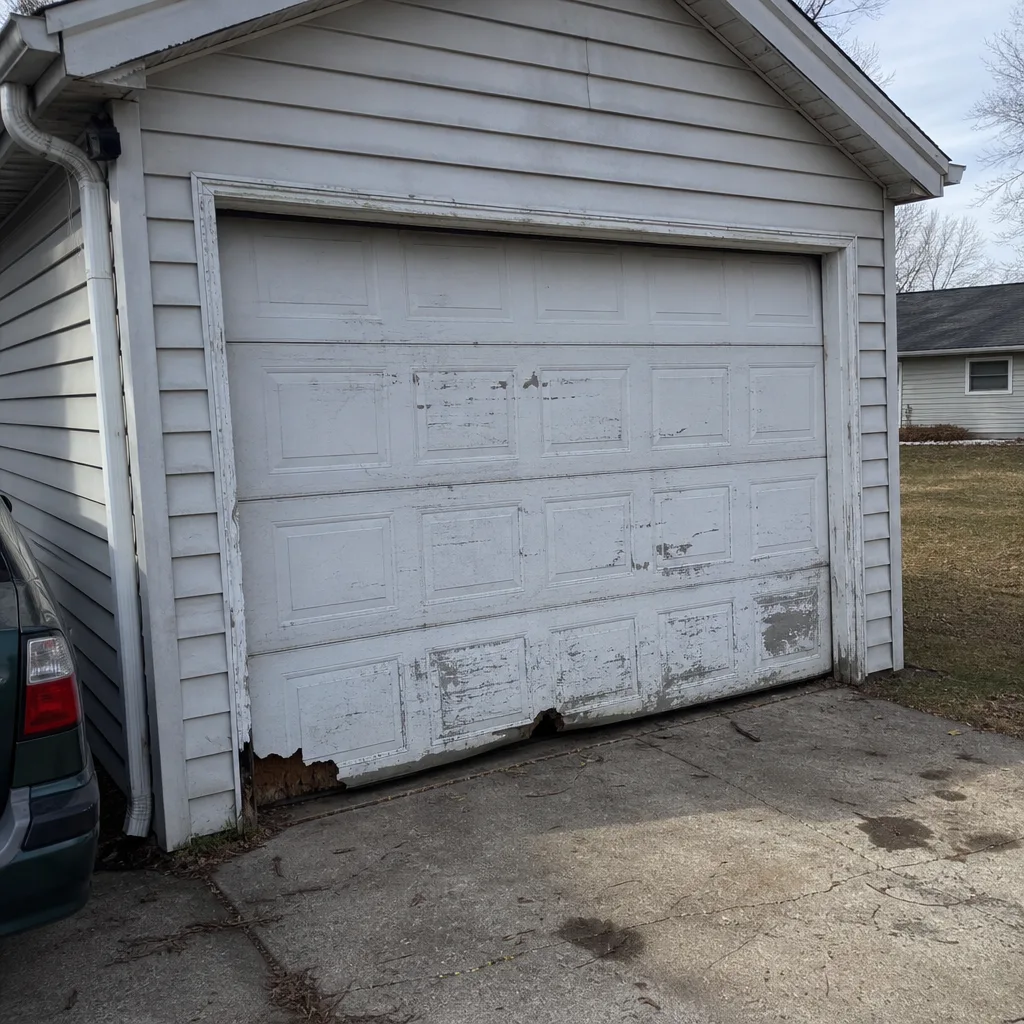 Before
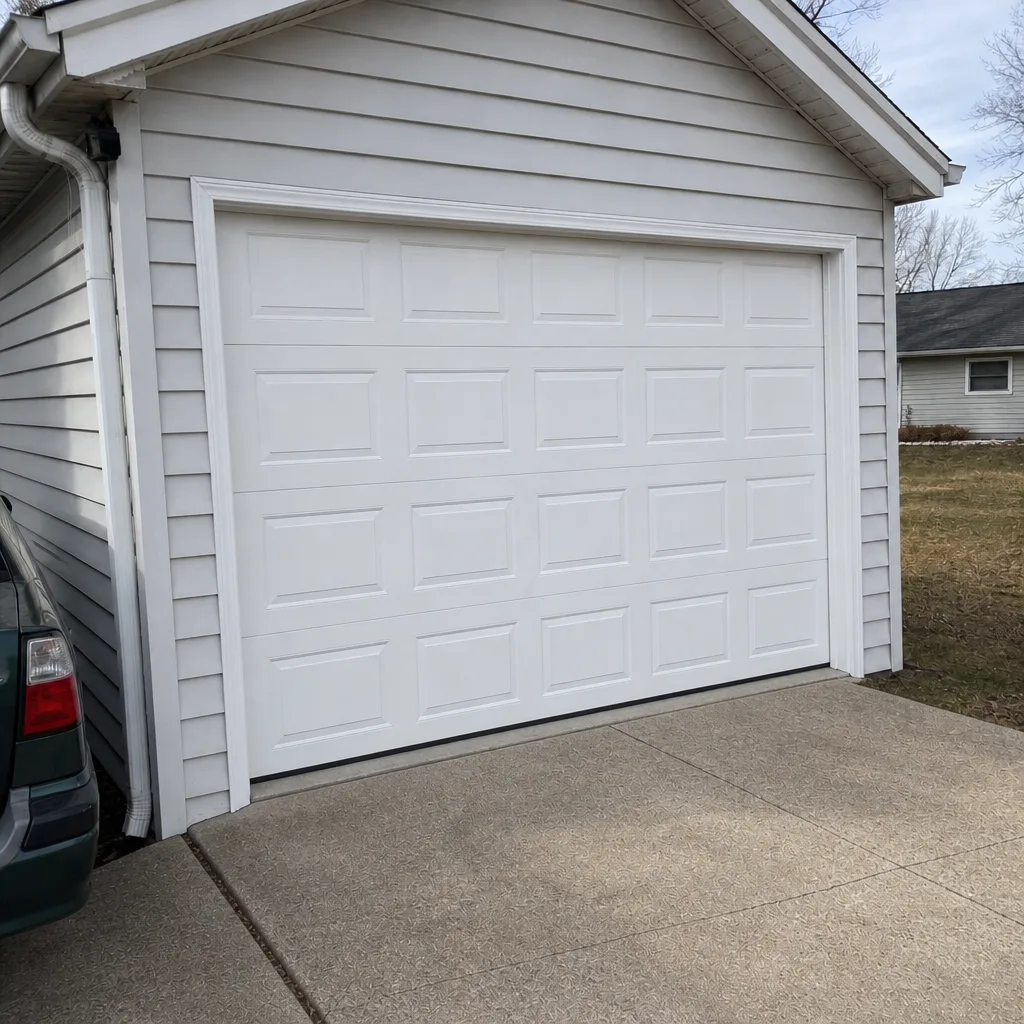 After
When to Call a Professional
Call a professional for any repair involving springs, cables, the bottom bracket, or the torsion assembly; for a door that is crooked, jerking, or won’t stay open; for a safety reverse that fails; for any opener installation or replacement; and for panel replacement on a door that’s been hit or bent. Also call if you’ve already attempted a repair and something still doesn’t feel right. New Britain Garage Door Repair Co offers free estimates in New Britain – call (833) 468-5774. We handle repair, opener repair, spring repair, installation, and emergency response when a door won’t open or won’t close. Those are the situations where a trained professional is genuinely worth the call, and it’s where we’re most useful.
Frequently Asked Questions
You should not replace a torsion or extension spring yourself. Both types store enough energy to cause serious injury if a winding bar slips or a spring releases unexpectedly, and the tooling and tension setup require professional training. Call a garage door specialist instead.
Spring repair is priced per spring, and a typical professional repair for one spring falls in the mid-hundreds range for parts and labor. A matched pair costs roughly twice a single spring because both are replaced together. The written quote you receive before work starts is the final price, so there’s no surprise on the invoice. Call (833) 468-5774 for an exact quote – estimates are free.
Sometimes. Many manufacturers’ opener warranties require installation by a qualified technician or, at minimum, installation to the manual’s spec with a documented safety reverse test. Read the warranty page of your specific manual before you install. Call (833) 468-5774 if you’d like us to confirm your unit was installed correctly – estimates are free.
The local professionals we connect you with are licensed and insured as their state requires. Our role is to dispatch a vetted specialist for garage door and opener work in New Britain. Call (833) 468-5774 to book a visit.
For many urgent failures, yes. Emergency garage door service is available for doors that won’t open or close, or that pose a safety risk, and a same-day visit is often possible for spring and opener failures. Call (833) 468-5774 and we’ll tell you what’s realistic for your situation – estimates are free.
No. The written estimate we give you before any work starts is the price you’ll pay. If we discover an additional issue during the repair, we’ll show you what we found and give you a separate quote before doing anything else. Call (833) 468-5774 to schedule – estimates are free.
The torsion spring. It’s the highest-energy part on the door, it requires specialized winding bars and correct tension settings, and a mistake is dangerous in a way that a weatherstripping error is not. Everything else on a garage door is at least worth a conversation; the torsion spring is not.
The Bottom Line
The DIY versus professional question splits cleanly along task type. Weatherstripping, lubrication, sensor alignment, and remote programming are good DIY candidates and save real money. Springs, cables, the bottom bracket, and opener installation are not, because the risk of injury and the warranty consequences outweigh any savings, even before you count the possibility of a failed attempt that leads to a professional call anyway. In New Britain, where cold winters put extra strain on springs and seals, the maintenance tasks matter more than most homeowners realize. Our technicians have up to 14 years of experience and work on whatever brand is already on your door. When you’re ready for an estimate, call New Britain Garage Door Repair Co at (833) 468-5774 for a free estimate.
Written by the team at New Britain Garage Door Repair Co.